
Quick Start
Follow these 6 steps to complete your first Codebyby API setup. Account, quota, token, and endpoint information should always come from the Codebyby console.
Before you start
Make sure you can open https://codebyby.com/ and have an email address ready for verification or account notices.
1. Register an account
Open the Codebyby console, enter the registration flow, and fill in the email, password, and verification details shown on the page.
After registration, confirm that your email works and keep the login method available. Quota purchase, API key creation, and usage checks all happen under the same account.
Completion sign: You can access the Codebyby console homepage.
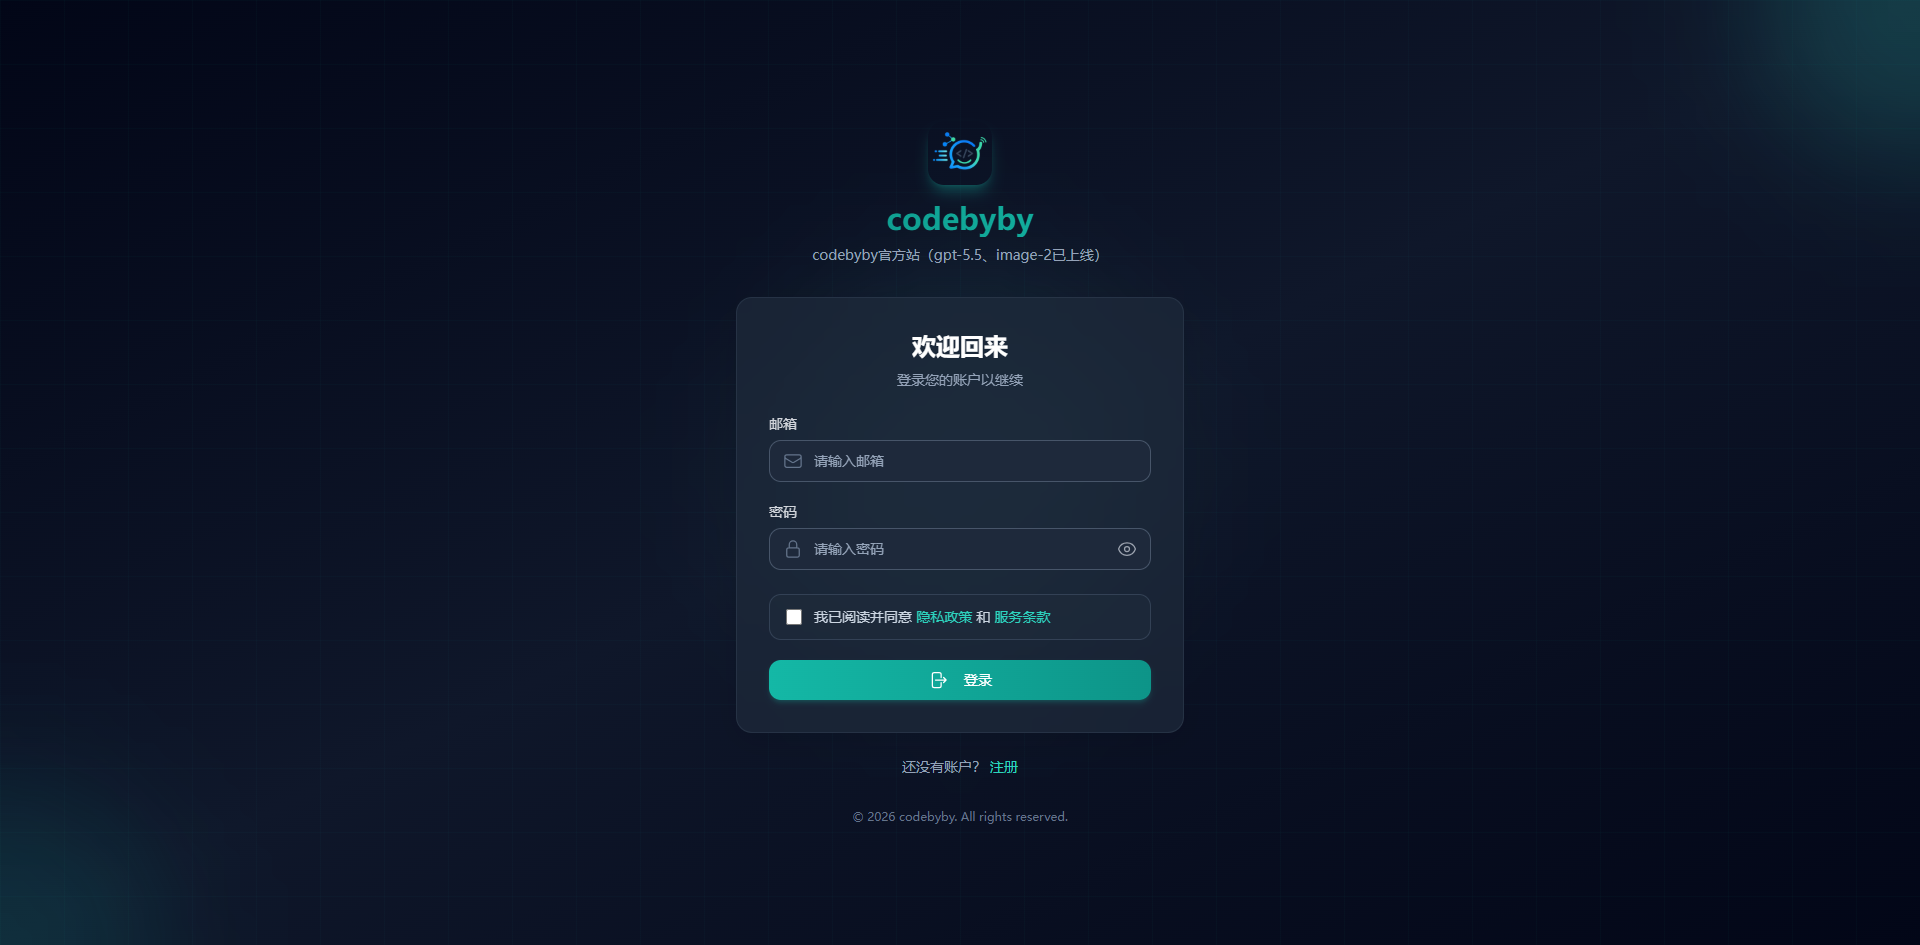
2. Log in to the console
Log in at https://codebyby.com/ with your account. If you already have an account, log in directly instead of registering again.
After logging in, confirm that you can find entries for API keys, usage, balance, or plans. Labels may vary by console version, so follow the actual UI.
Completion sign: You can view account quota, API key management, and connection details.
3. Buy quota or a plan
Open the billing, plan, or recharge page in the console and choose quota that fits your initial testing volume. For a new integration, start small, verify connectivity, and then adjust based on real traffic.
Check these items after purchase:
- Balance or plan quota has arrived
- The account can create API keys
- The target model is included in your quota or plan
Completion sign: The console shows available quota in a normal state.
4. Create an API token
Open the API keys page and create a new key. Name it by purpose, such as codex-main, cherry-studio, or local-cli, so troubleshooting and rotation are easier later.
Copy and store the API key immediately after creation. A full key is usually shown only once. Do not send it in chats, screenshots, or code repositories.
Completion sign: A new valid key appears in the API key list.
5. Check your local environment
Before configuring a client, verify the basics:
- Your network can reach
https://codebyby.com/ - Your terminal, IDE, or desktop client is installed
- Proxy, firewall, or corporate network rules are not blocking the target connection
- You have the API base URL and API key shown by the console
For terminal tools, store the key in environment variables or a secure local config file instead of hardcoding it in scripts.
Completion sign: Your local tool can read the prepared API key and base URL.
6. Configure the CLI or client
Continue with the tool you want to use. Codebyby recommends CLI tools or clients that clearly support custom API endpoints, instead of unknown plugins.
Common configuration fields:
| Field | Value |
|---|---|
| API Key | The Codebyby API key created in the console |
| Base URL | The Codebyby API base URL published by the console or docs |
| Model | A model name available to your account |
| Provider | OpenAI-compatible or custom API provider |
If you use CC Switch, install CC Switch first and import the key from the console, then configure Codex, Cherry Studio, or other tools.
Success sign: The client can send a short test message and receive a normal response.
Next steps
- Read API Base URL
- Read Key Management
- Configure Cherry Studio
- Configure Codex